Registering Accounts
After deploying Tabby, you will need to register an account on your server to access the instance.
Open the homepage by the url you displayed in startup logs, e.g. http://localhost:8080.
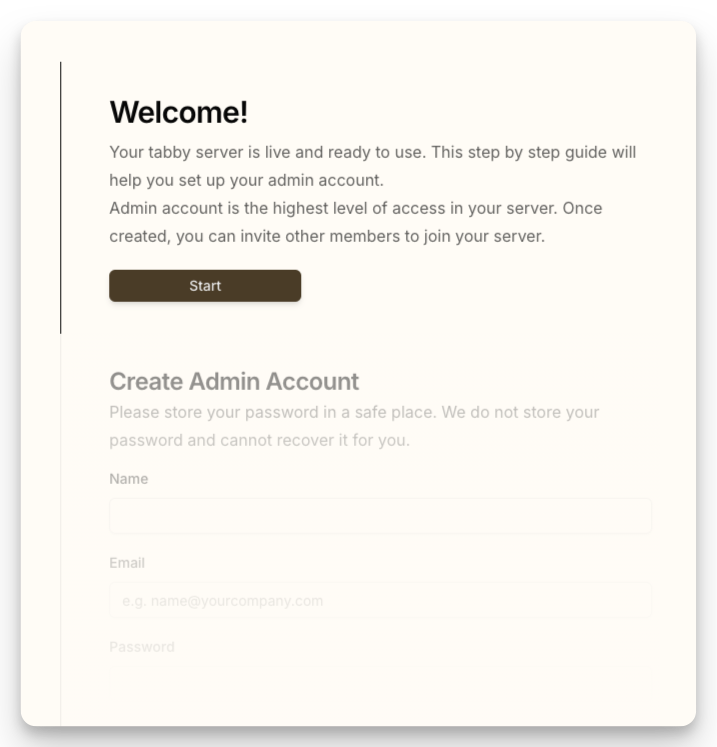
Creating an Admin Account
The first registered account after deployment will be the admin account and will be granted the owner role.

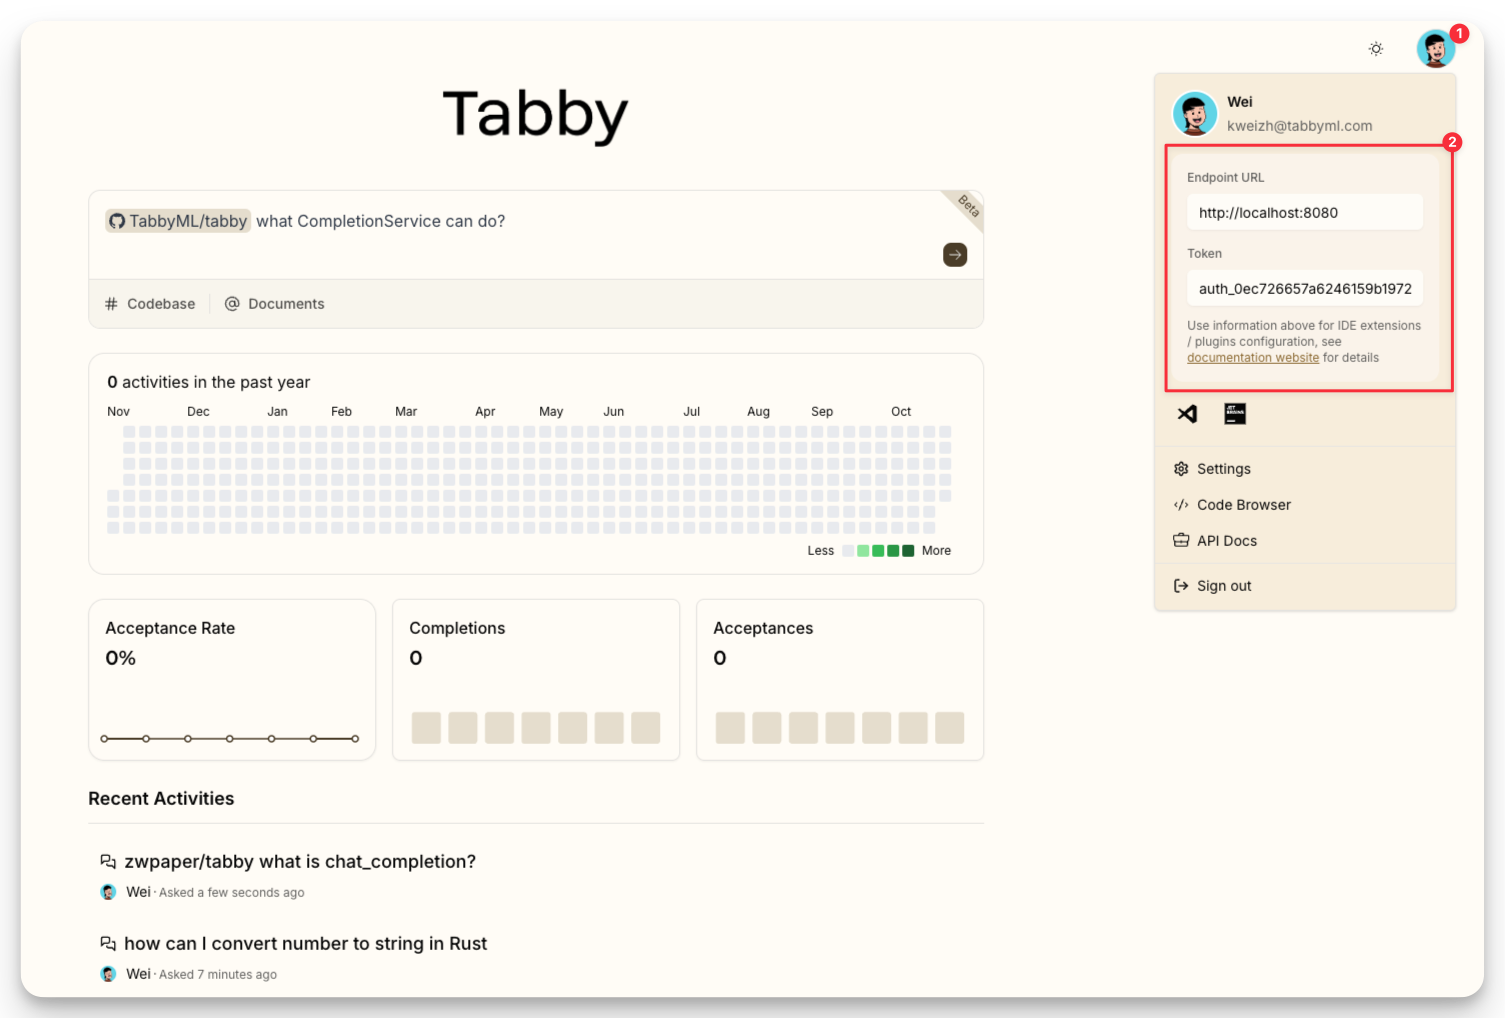
Entering Homepage
Once logged in, you will be redirected to the homepage. It contains basic information about your account. More importantly, you will find the credentials you need to connect your IDE/Editor extensions to Tabby.

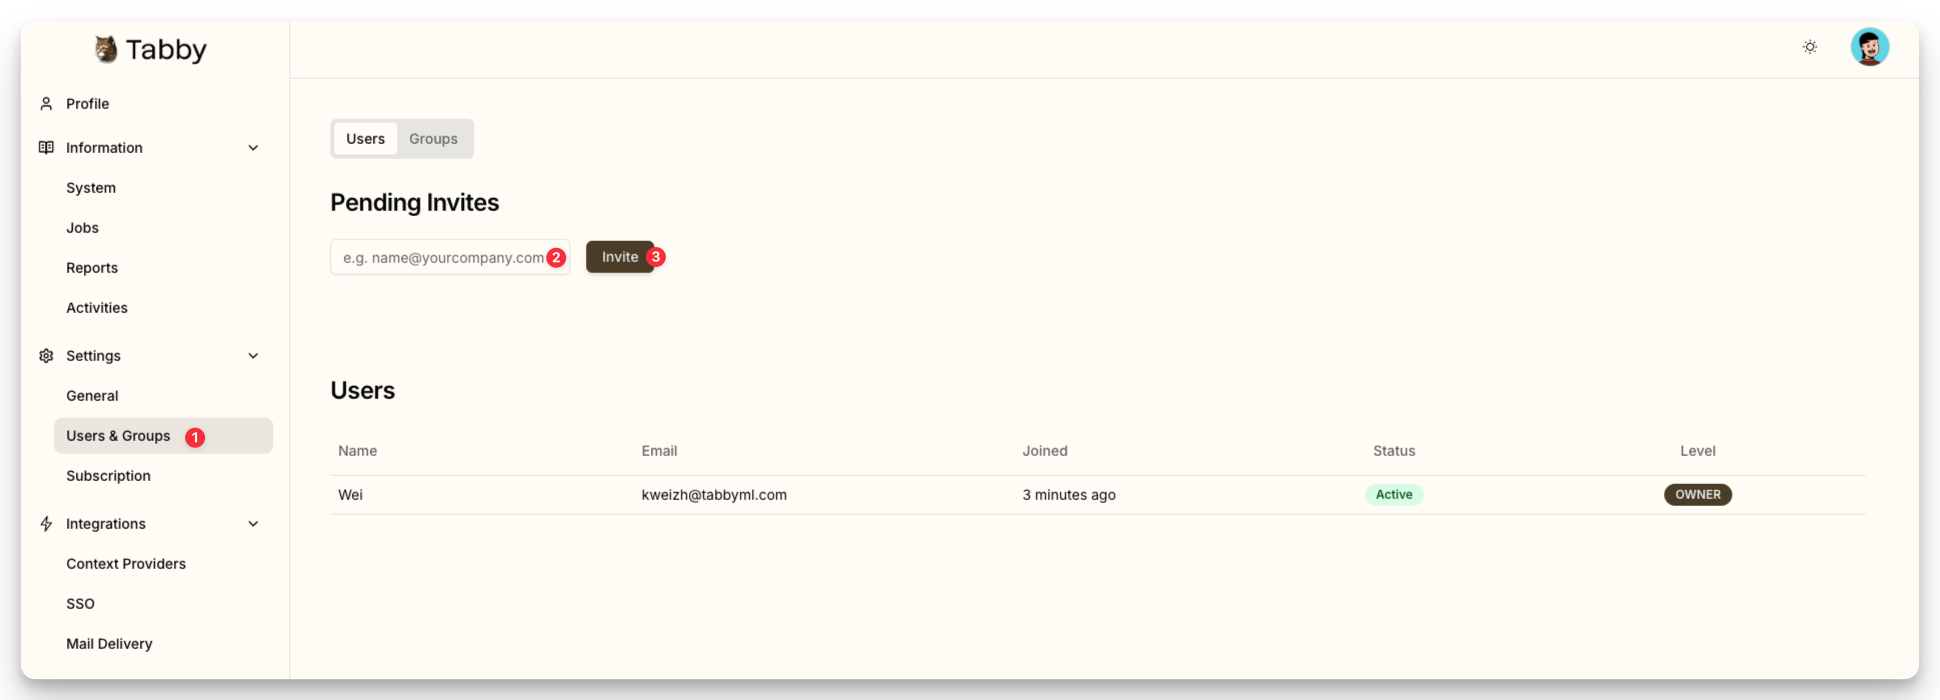
(Optional) Invite your team members
Tabby offers an enhanced experience with a full-featured UI interface and many enterprise-facing features. You can invite your team members to join your instance and collaborate on your projects.
To invite team members, click on Settings in the Homepage then select Members from the side bar.

For more information on how to configure the instance, please refer to the Administration documentation.