Context Providers
Tabby Context supports two kinds of context currently:
- Source code repositories
- Developer docs
The source code repositories context is used to connect Tabby with a source code repository from Git, GitHub, GitLab, etc. Tabby fetches the codebase, pull requests / merge requests, issues, and commits from the repository, parses it into an AST, and stores it in the index. During LLM inference, this context is utilized for code completion, as well as chat and search functionalities. View the use case in Answer Engine - Source Code Repositories
The developer docs context is a critical source for engineering knowledge,
simply press the @ button in the chat interface and select the document you wish to include,
Tabby will include these documents when interacting with LLMs. View the use case in Answer Engine - Developer Documentation
Adding a Repository through Admin UI
- Navigate to the Integrations > Context Providers page.
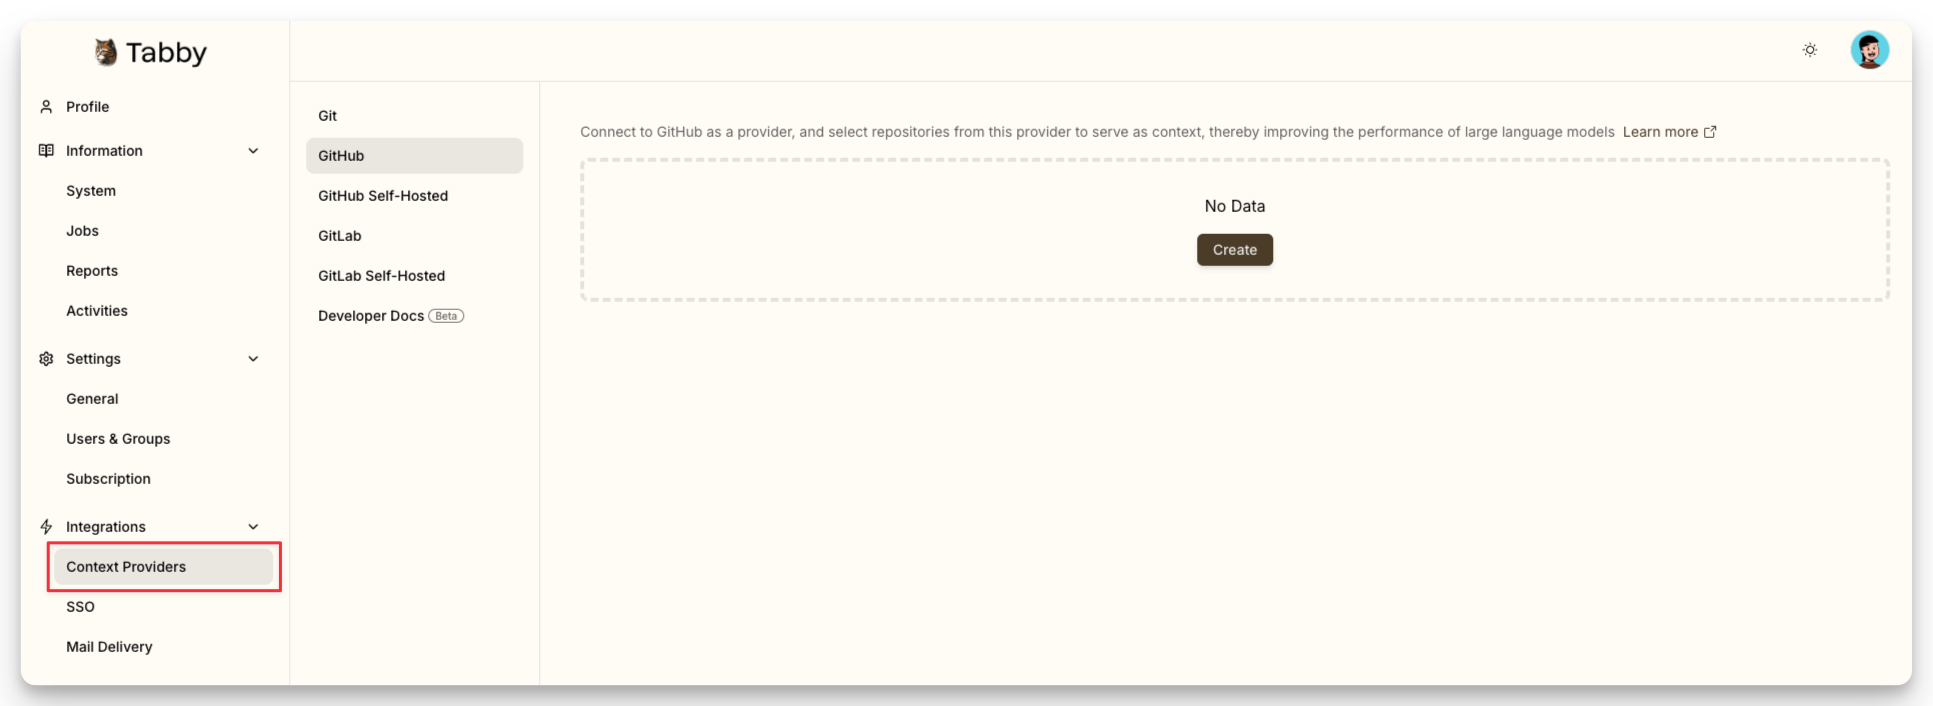
- Click Create to begin the process of adding a repository provider.
-
For Git, you only need to fill in the name and the URL of the repository.
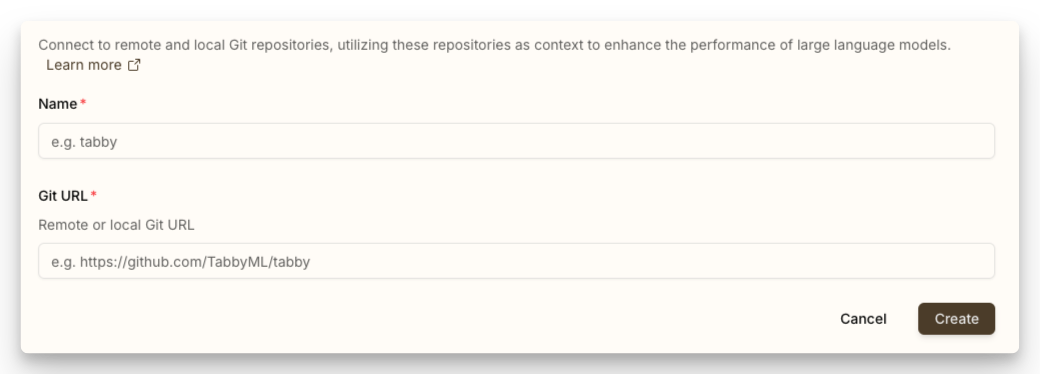
Local repositories are supported via the
file://protocol, but if running from a Docker container, you need to make it accessible with the--volumeflag and use the internal Docker path. -
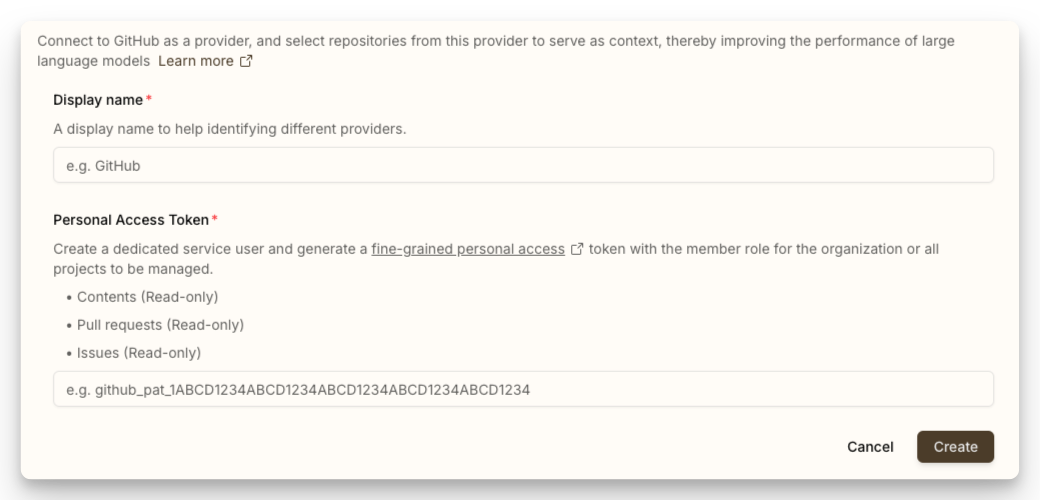
For GitHub / GitLab, a personal access token is required to access private repositories.
- Check the instructions in the corresponding tab to create a token.
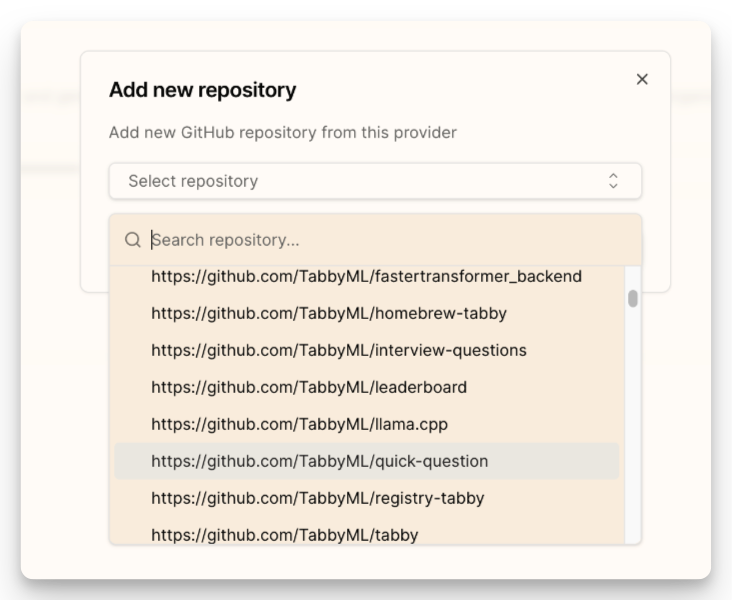
- Once the token is set, you can add the repository by selecting it from the dropdown list.
-
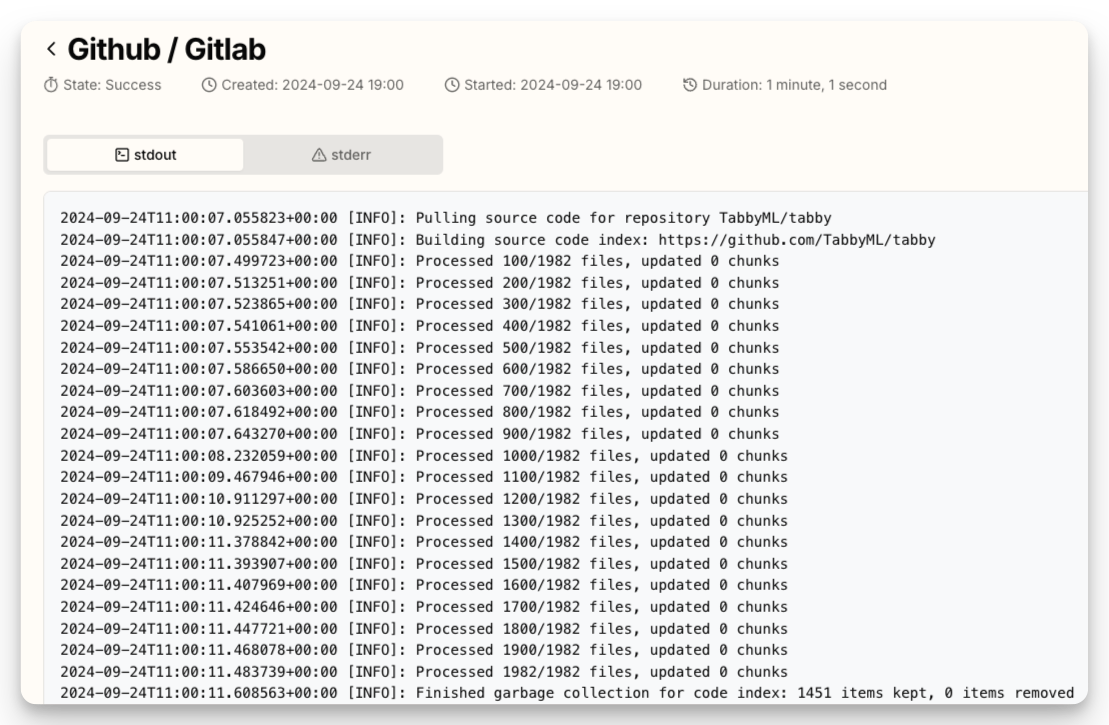
After adding the repository, a job will be created to fetch its information and build it into the index. You can view the job's log on the
Jobspage.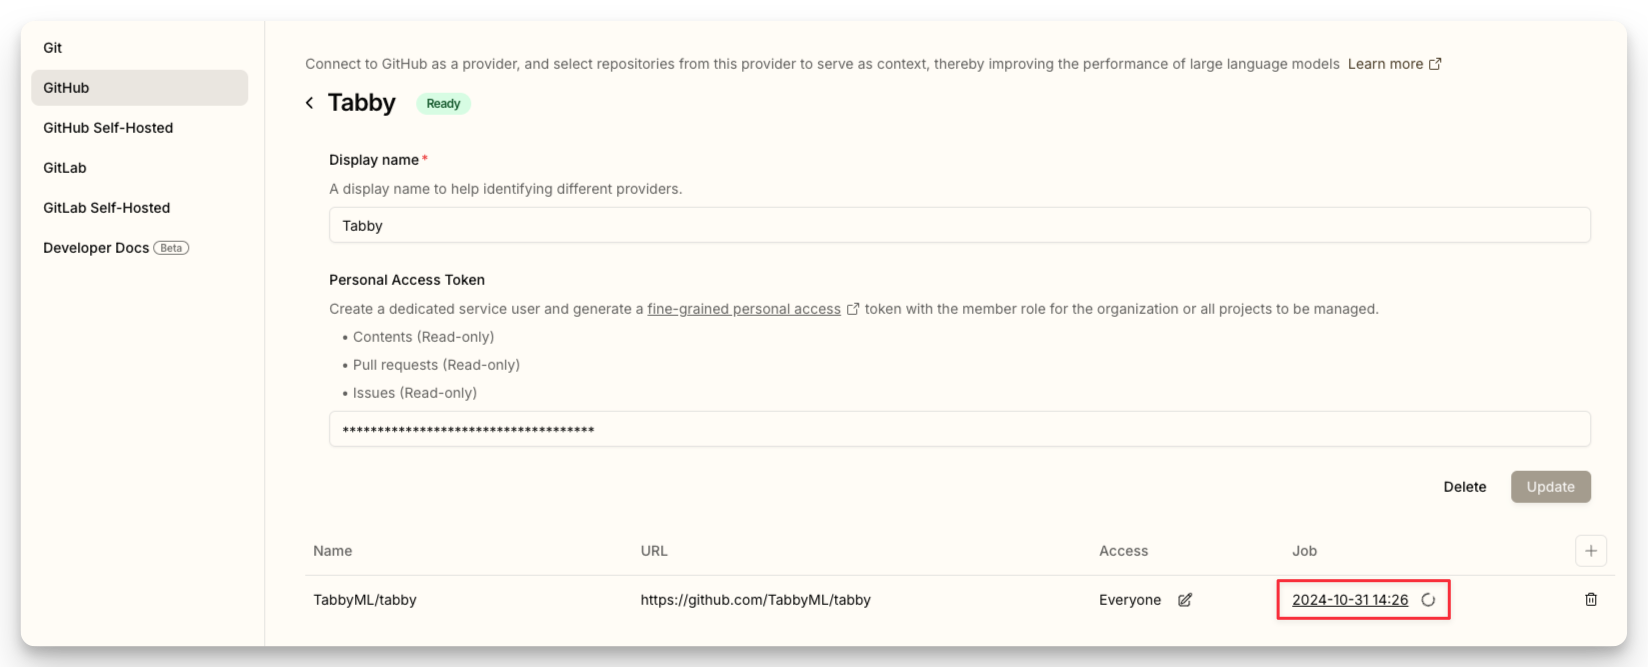
Adding a Repository through configuration file
~/.tabby/config.toml is the configuration file for Tabby. You can add repositories with it as well, and it's also the only way to add a repository for the Tabby OSS.
[[repositories]]
name = "tabby"
git_url = "https://github.com/TabbyML/tabby.git"

# git through ssh protocol.
[[repositories]]
name = "CTranslate2"
git_url = "[email protected]:OpenNMT/CTranslate2.git"

# local directory is also supported!
[[repositories]]
name = "repository_a"
git_url = "file:///home/users/repository_a"
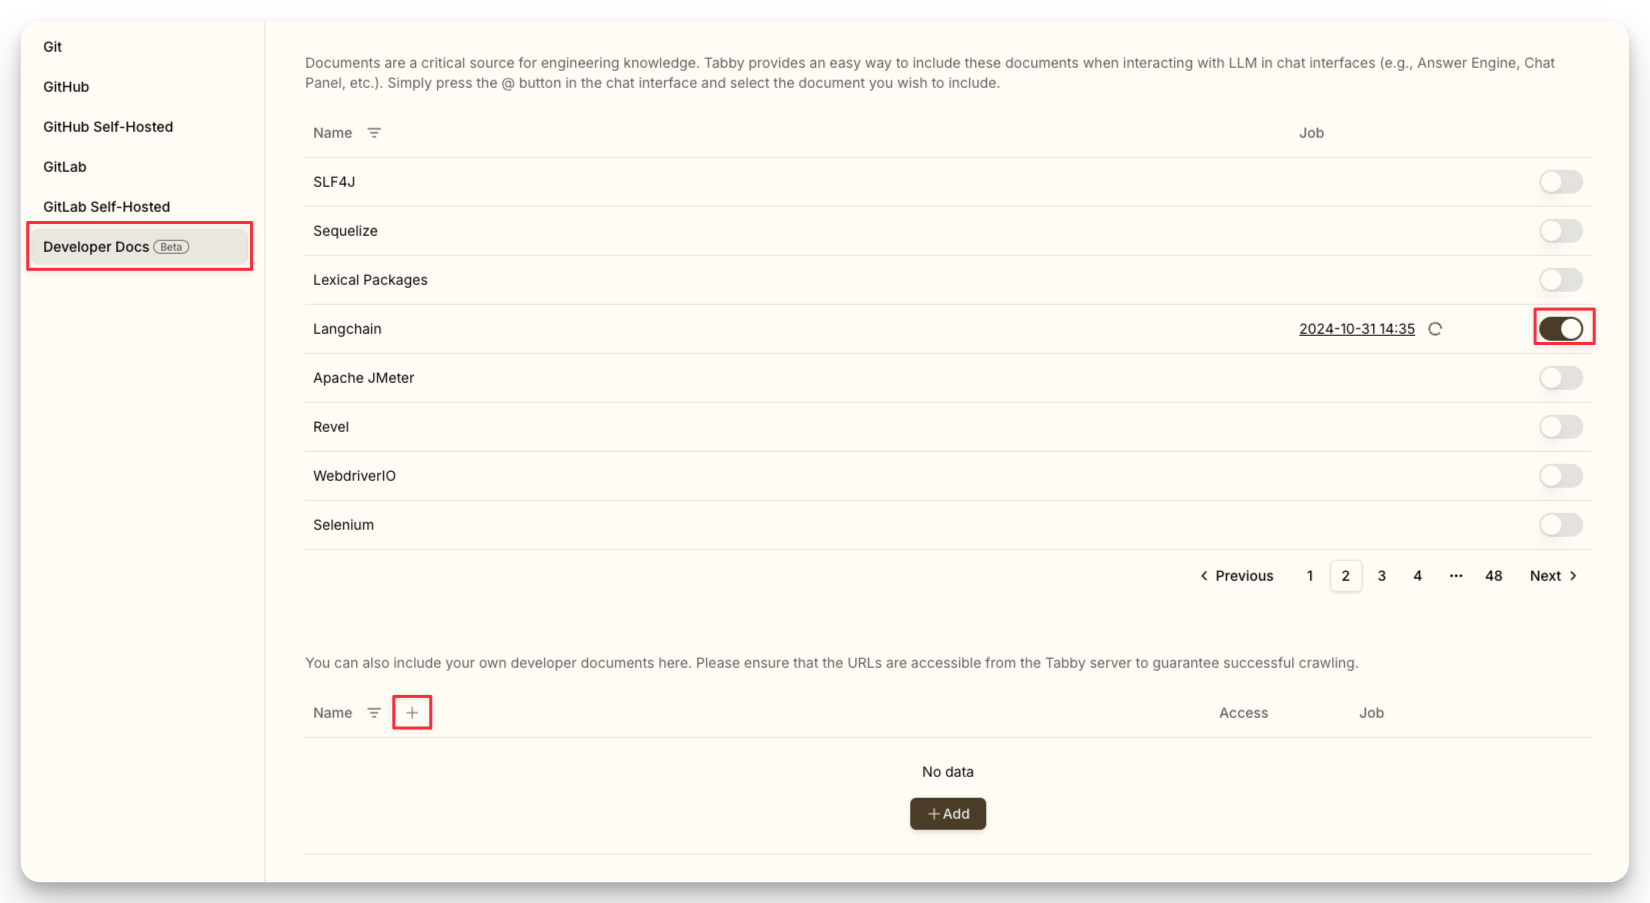
Adding a Developer Doc through Admin UI
- By default, Tabby uses the Katana to crawl developer documentation. For Docker deployments, Katana is pre-installed in the container image. Non-Docker deployments require manual Katana installation.
- If a developer documentation site implements the llms.txt standard, Tabby directly retrieves and indexes the specified documents, instead of using Katana for automated crawling.
- Navigate to the Integrations > Context Providers page, and then select the
Developer Docs(Beta).

- Turn on the switch to enable the integrated sites, or click the
+button to add your own URLs
Verifying the Repository Provider
Once connected, the indexing job will start automatically. You can check the status of the indexing job on the Information > Jobs page.
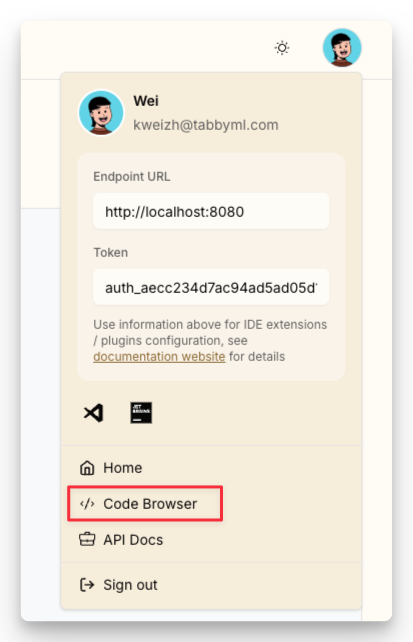
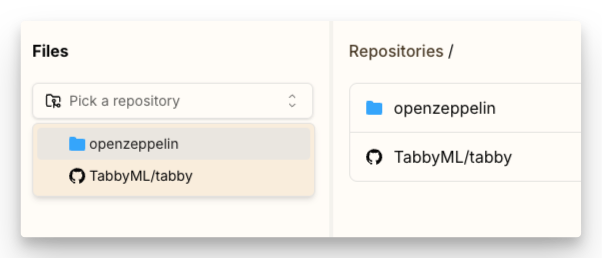
Additionally, you can also visit the Code Browser page to view the connected repository.
