Windows
Running Tabby on Windows using Tabby's exe distribution.
Find the Windows release
- Go to the Tabby release page: https://github.com/TabbyML/tabby/releases
- Click on the Assets dropdown for a specific release to find the Windows zip files.
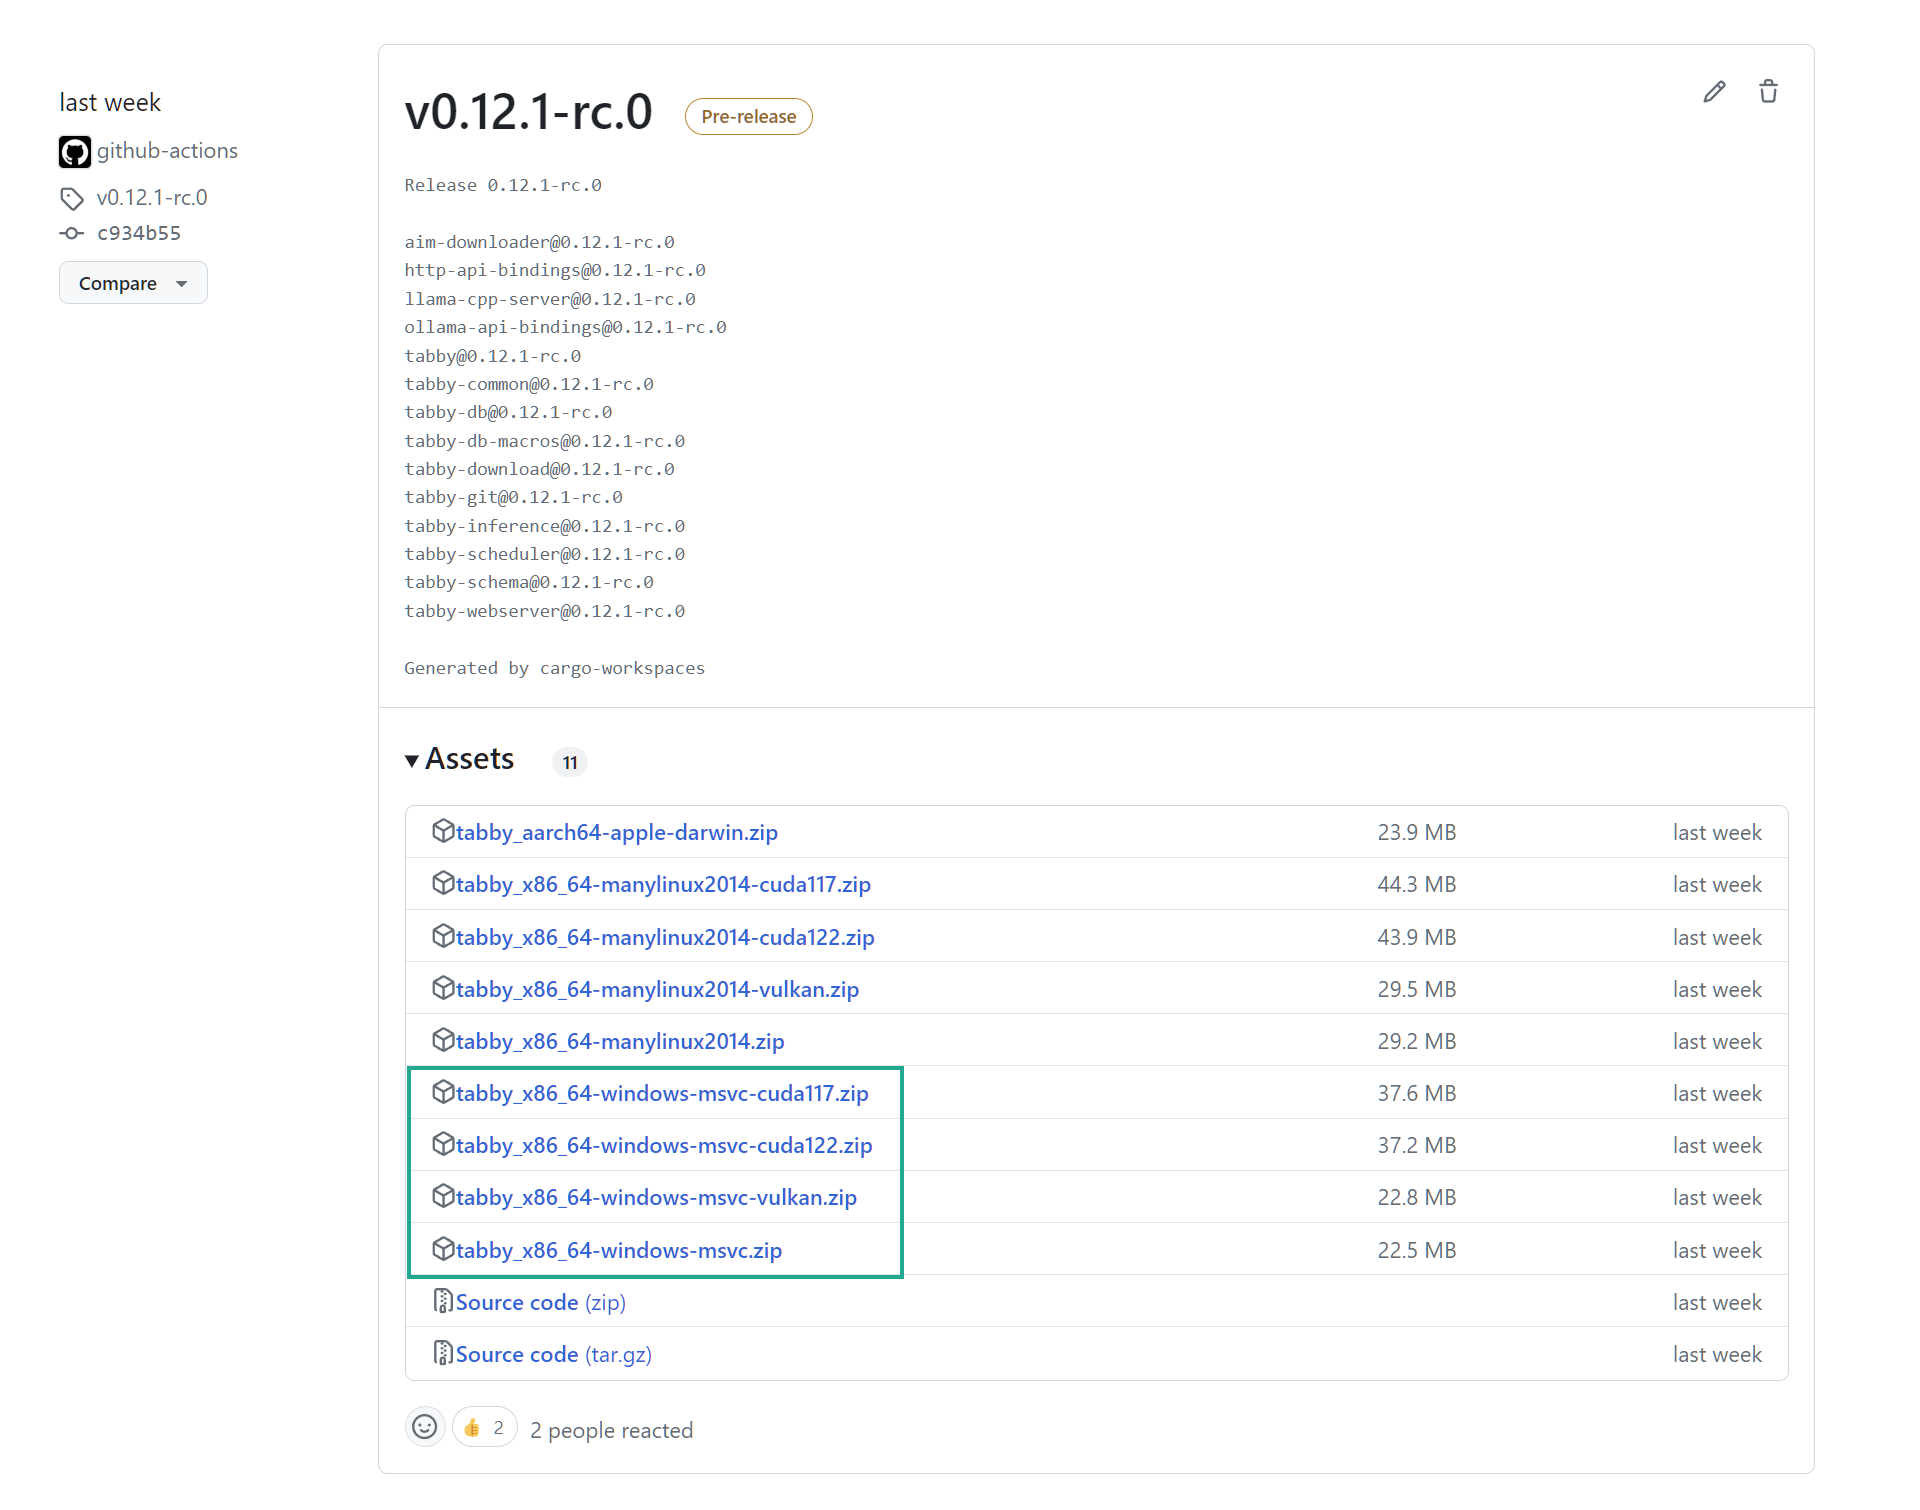
Download the release
- If you are using a CPU-only system, download the tabby_x86_64-windows-msvc.zip.
- If you are using a GPU-enabled system, download the tabby_x86_64-windows-msvc-cuda117.zip, In this example, we assume you are using CUDA 11.7.
Tips:
- Download the CUDA Toolkit from Nvidia: https://developer.nvidia.com/cuda-toolkit
- Ensure that you have CUDA version 11 or higher installed.
- Check your local CUDA version by running the following command in a command prompt or PowerShell window:
nvcc --version
Find the Windows executable file
- Unzip the file
tabby_x86_64-windows-msvc-cuda117.zip. - Navigate to the extracted folder named
tabby_x86_64-windows-msvc-cuda117. - Inside this folder, go to
dist->tabby_x86_64-windows-msvc-cuda117. - In this directory, you'll find an executable file named
tabby.exe.
Running Tabby
Open a command prompt or PowerShell window, as administrator, in the directory where the tabby.exe is located (from the previous step).
Run the following command:
# For CPU-only environments
.\tabby.exe serve --model StarCoder-1B --chat-model Qwen2-1.5B-Instruct

# For CUDA-enabled environments
.\tabby.exe serve --model StarCoder-1B --chat-model Qwen2-1.5B-Instruct --device cuda
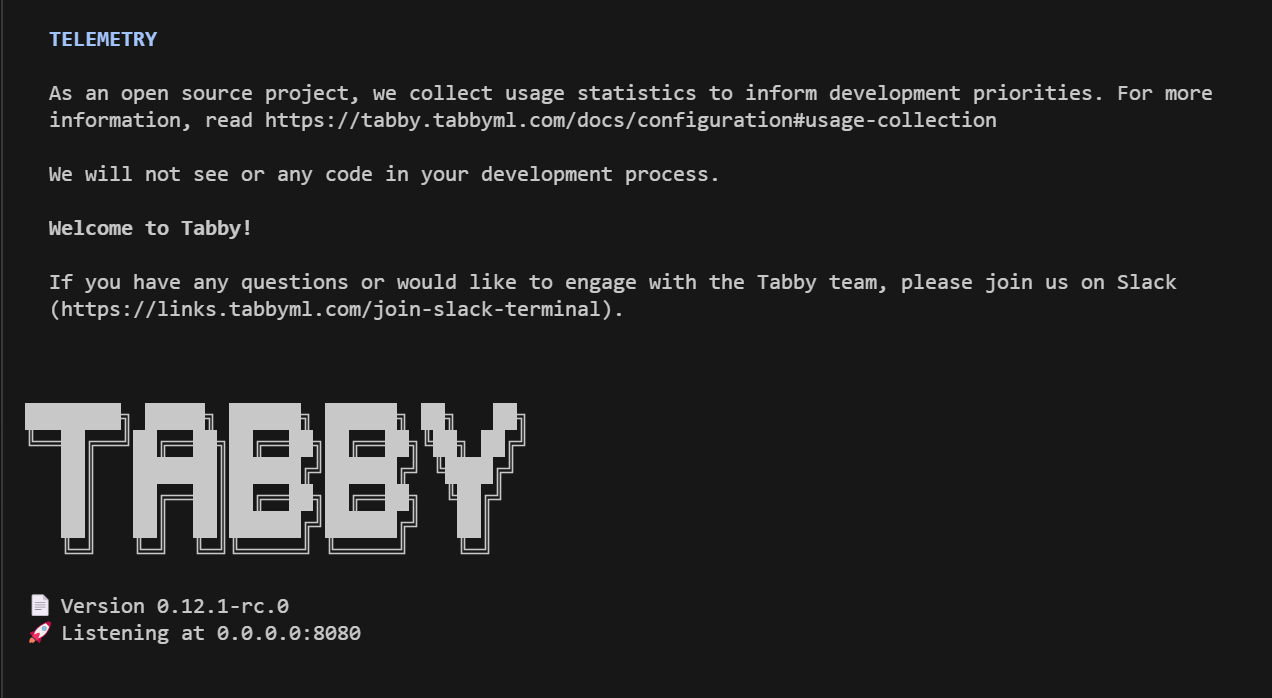
You should see a success message similar to the one in the screenshot below. After that, you can visit http://localhost:8080 to access your Tabby instance.